Introduction
Drum brake replacement is one of the most important maintenance tasks for heavy-duty trucks, buses, trailers, and commercial vehicles. These braking systems are designed to withstand high loads and prolonged heat cycles, but even the most robust drums eventually wear out. Knowing how to replace drum brakes, when to service them, and what steps are required ensures long-lasting performance and prevents costly downtime for your fleet.
Signs You Need to Change Drum Brakes
If you're unsure how often drum brakes need to be replaced, it’s best to follow the manufacturer's guidelines and stay alert to warning signs. Drum brakes rarely fail without giving drivers noticeable symptoms first. Some of the most common include:
- Grinding or squealing noises during braking
- Pedal vibration or pulsation, signaling an out-of-round drum
- Reduced stopping power or brake fade
- Excessive shoe wear or glazing
- Oil contamination from hub seals
- Drum’s inner diameter exceeding max DIA limit
- Unusual cracks/fractures/breaks/dents/distortions on the surface
Another point worth noting is brake drums don’t always need to be replaced at the same time as brake shoes. While replacing both at the same time ensures ideal even wear and maximum braking efficiency, there is no need to throw away well-functioning shoes.
Tools & Supplies for Replacing Heavy-Duty Drum Brakes
Preparing for replacing drum brakes efficiently requires the right equipment on hand.
| Purpose | Items |
|---|---|
| Safety | Proper PPE (gloves, a mask, eye protection) |
| Removal and reinstallation | Lug wrench or impact tool, torque wrench |
| Disassembly and adjustment | Socket set, needle-nose pliers, line wrench, and brake spring/hold-down tools |
| Adjustment and inspection | Brake spoon or star-wheel adjuster tool, rubber mallet, and penetrating oil |
| Measurement | Inside micrometer or drum gauge and a dial indicator |
| Hardware kit | New return springs, hold-down pins, adjuster levers, and tension springs |
| Lubricating and cleaning | High-temperature brake grease, proper brake cleaning solutions, and a HEPA vacuum |
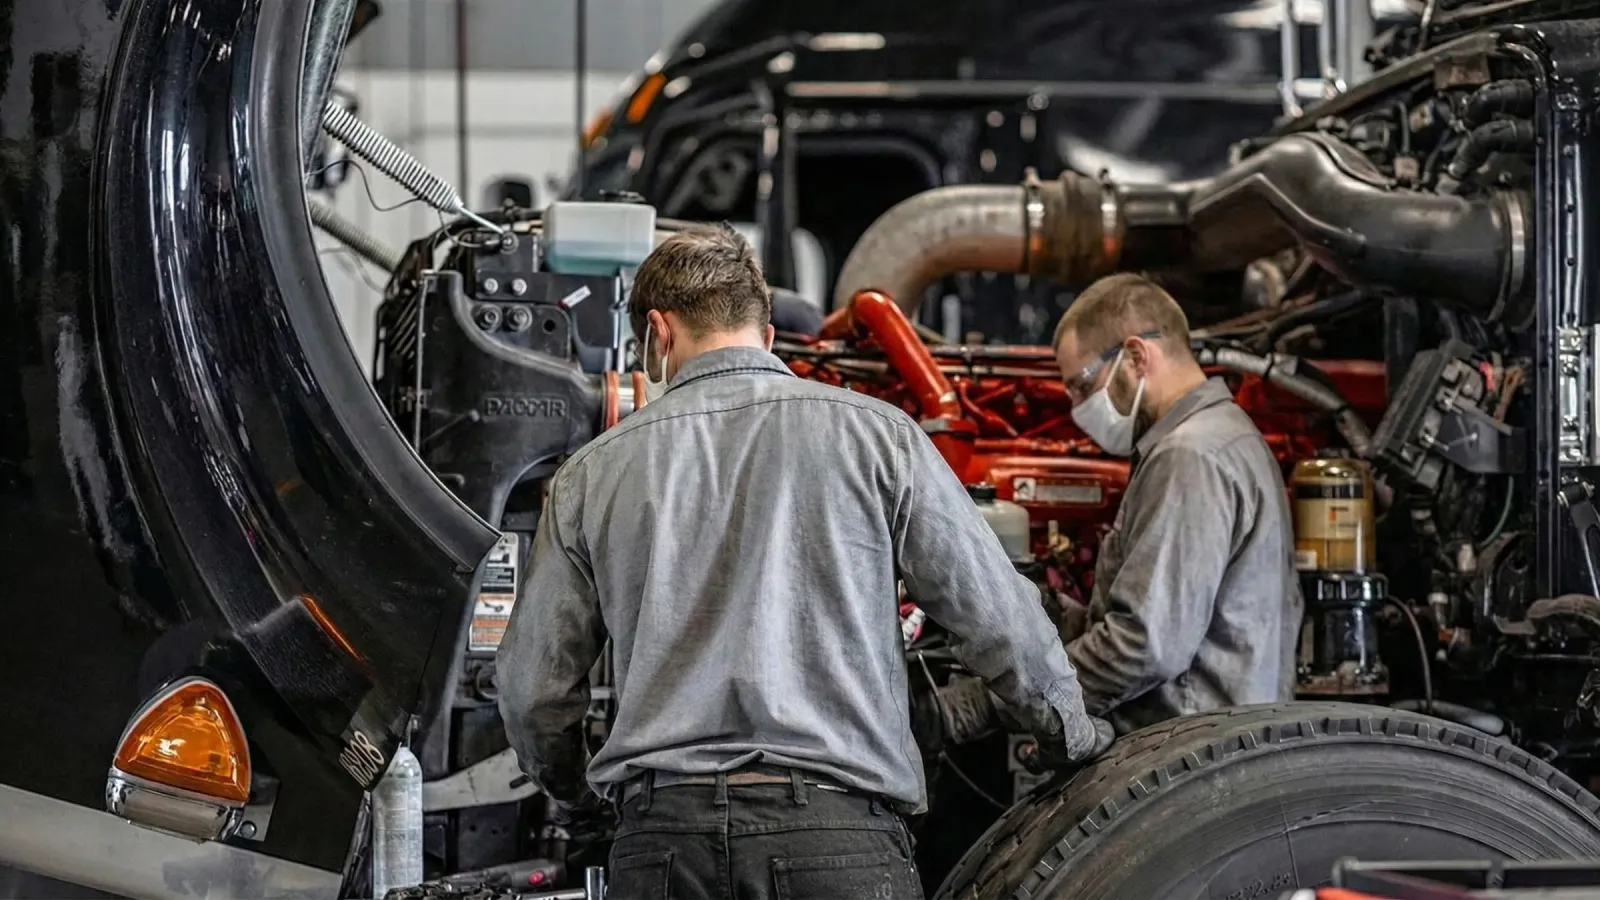
Before starting drum brake replacement, always make sure you are working in a controlled, well-ventilated environment and follow safety practices, as the dust from older linings can be harmful.
>>> Read more: OEM vs Aftermarket Parts: What’s the Difference?
How to Replace Heavy-Duty Drum Brakes in 7 Steps
Below is the detailed process for changing drum brakes, replacing brake shoes, and installing new drums on commercial vehicles. These steps also apply broadly to trucks, buses, and trailers using hydraulic or air brake systems.
Pre-Work Best Practices
Before disassembly, photograph both sides of the drum brake assembly. This helps confirm correct reassembly and component orientation. Back off the star-wheel adjuster through the access slot, and ensure the parking-brake cable moves freely.
After installation, you should verify drum runout with a dial indicator and torque wheels according to manufacturer specifications to prevent pulsation or uneven wear.
Step 1: Preparation & Safety Setup
Every drum brake replacement starts with proper setup.
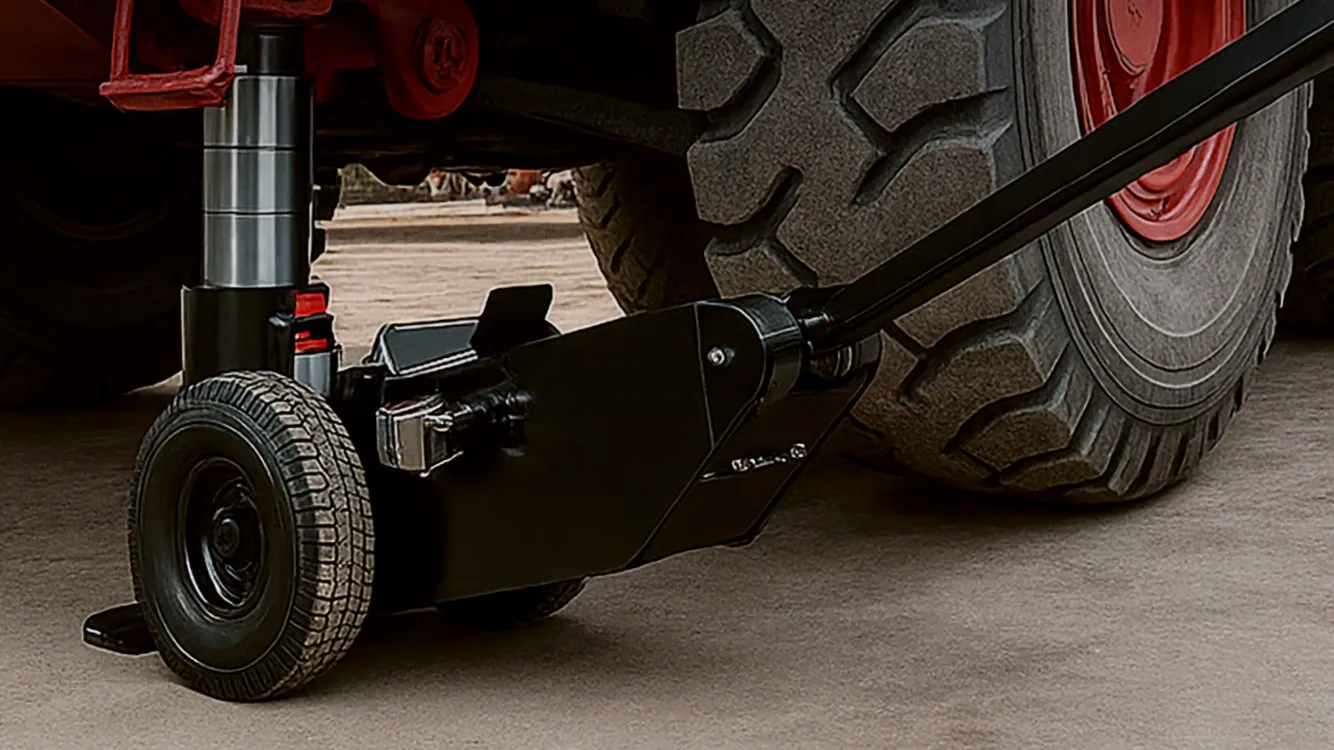
- Park the vehicle on a flat, level surface and apply wheel chocks
- Remove wheel covers and loosen lug nuts without fully removing them
- Jack up the wheel and support it securely with heavy-duty jack stands
- Release the parking brake or relieve air pressure if equipped with air brakes
While heavy-duty systems require care and strength, with the right tools and safety steps, drum brakes are not hard to change.
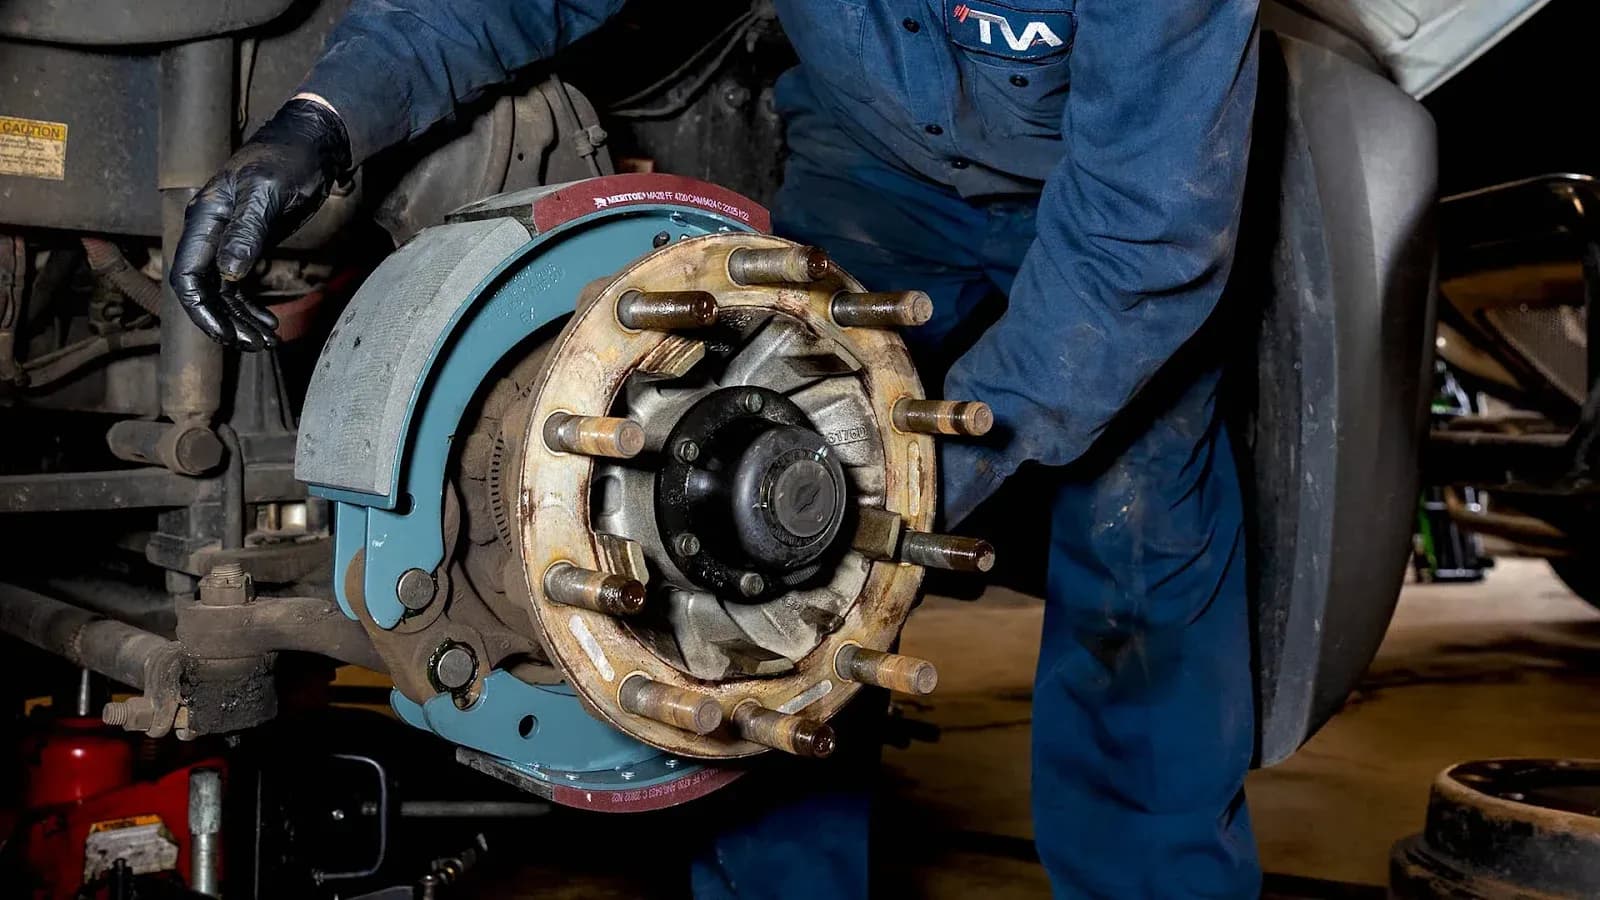
Step 2: Remove the Brake Drum
Once the wheel is off, the drum can be removed from the hub.
- Pull the drum straight outward to slide it off
- If it’s stuck, gently tap around the edge with a rubber mallet
- Retract the adjuster through the backing plate if the shoes are dragging
- If still stuck, adjust the star wheel further to retract the shoes more
Older drums often seize due to corrosion or a ridge inside the braking surface, but proper adjustment and controlled tapping usually free them.
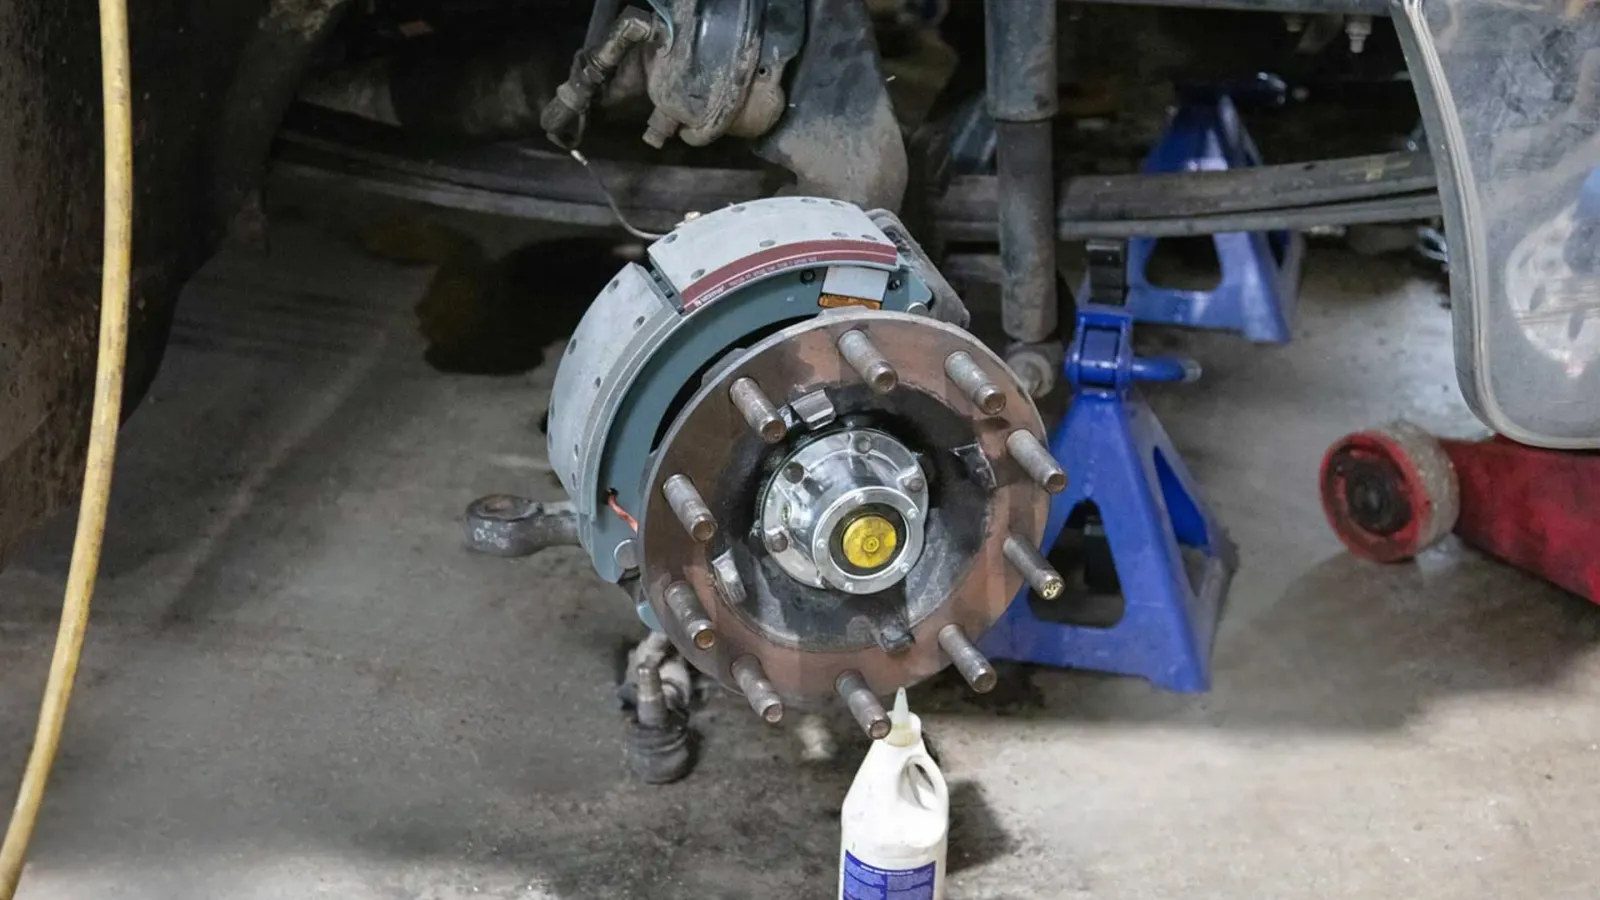
Step 3: Inspect the Internal Brake System
Before moving forward, inspect every component inside the drum:
| Component | What to Check |
|---|---|
| Brake shoes | • Uneven wear • Glazing • Burning marks • Grease or oil contamination |
| Brake cam Return springs |
• Worn brake cam • Smooth cam rotation • Springs still have tension |
| Wheel hub | • Leaking hub seals • Excessive grease buildup • Loose bearings |
If you're wondering how to replace brake shoes on drum brakes, this step helps determine whether cleaning is enough or full brake shoe replacement is required. Good-condition shoes can be reused, but those that are worn to the limit or contaminated need to be replaced.
Step 4: Clean & Lubricate Components
Do not blow out dust with compressed air, as it can contain harmful particles. Instead, use a HEPA-filtered vacuum or wet methods. The simplest way to clean up the brake is using proper cleaning solutions to wash away dust, debris, and old grease.
- Spray brake cleaner to remove dust, residue, and old grease
- Apply a thin layer of high-temperature brake grease to lubricate the brake cam, adjuster threads, and shoe contact points on the backing plate
Important: Never apply grease to the friction surface of shoes. Grease contamination is a leading cause of brake slip and uneven braking.
Step 5: Install New Brake Shoes (If Required)
Brake shoe installation is the step that requires the most care when replacing brake drums.
- Match primary and secondary shoes correctly
- Transfer the parking brake lever if necessary
- Position both shoes on the backing plate
- Reinstall hold-down springs, pins, and washers
- Attach return springs in the correct order
- Ensure all components are tensioned and aligned
Worn hardware can cause uneven braking or premature wear, so many technicians often choose to install new hardware kits to ensure proper tension and brake longevity.
Step 6: Install the Brake Drum & Adjust Clearance
After the shoes are in place, reinstalling the drum completes the mechanical portion of the job.
- Clean the new or resurfaced drum with brake cleaner
- Slide the drum onto the hub, checking that it centers correctly
- Adjust the shoes with the star wheel until they slightly contact the drum
- Reinstall the wheel
- Torque the lug nuts to manufacturer specification
If the drum won’t slide onto the shoes, it means the adjustment is too tight, so back it off slightly.
Step 7: Post-Installation Check
Before driving, press the brake pedal several times to allow the shoes to position themselves properly. Then rotate the wheel again to ensure nothing is rubbing or binding.
A short, low-speed road test helps confirm everything is working correctly. Braking should feel smooth, even, and predictable. During the first 125–200 miles, apply gentle braking to allow the new drum and shoe surfaces to bed in gradually.

Key Tips for Extending Brake System Life
Even after proper installation, long-term performance of your brake system depends on regular care. These habits help reduce chances of recurring drum brake replacement costs and help maintain safe performance.
- Inspecting hub seals and bearings during drum service
- Replacing brake components in axle pairs
- Avoiding aggressive braking on steep grades
- Scheduling routine brake inspections for fleets
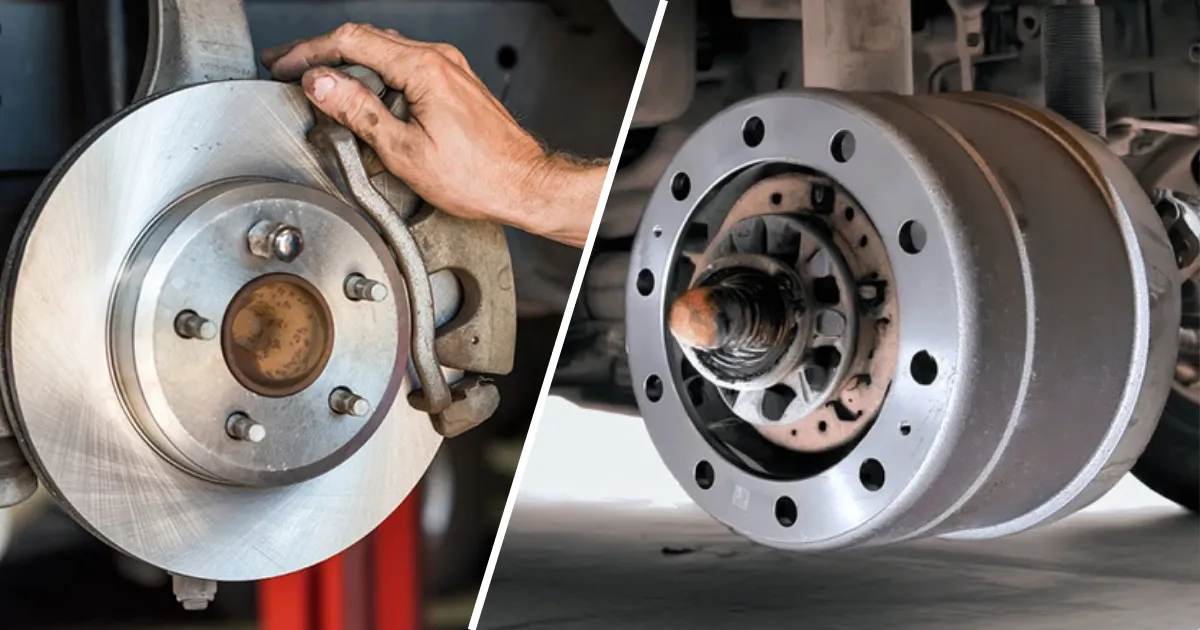
Can You Replace Drum Brakes With Disc Brakes?
While many trucks and trailers can be converted, the process requires a range of replacements, including new hubs or adapters, calipers and rotors, modified brake lines, updated ABS components, and professional installation.
In general, discs offer good cooling and responsiveness, but drum brakes remain more popular in heavy-duty fleets for their durability, heat tolerance, and lower overall brake drum replacement cost.
>>> Read more: Drum Brakes vs Disc Brakes: What’s Best for Commercial Fleets?
Conclusion
Knowing how to replace drum brakes properly ensures safer, smoother braking and better long-term performance for your fleet. Whether you’re learning how to change rear drum brakes, replacing worn shoes, or installing new heavy-duty brake drums, the right components make all the difference.
Choosing high-quality components is more than maintenance – it’s an investment in safer, more efficient transport. At TBP Auto, we build high-quality brake drums optimized for commercial demands: heat-resistant, precisely machined, and engineered for maximum durability.
If you're planning a brake drum replacement, explore our product catalog and check out our blogs for more insights.